Ladies, let’s talk beauty! You know that feeling when your nails look so perfect, you can’t stop admiring them? The good news is—you can achieve that same salon-quality finish without stepping out of your home. Learning how to do your own gel nails at home is not only easy but also saves you time and money. If you’re just getting into DIY manicures or want to perfect your skills, this detailed guide walks you through every step to achieve shiny, long-lasting nails that look professionally done.
Gel nails have become a favorite for many women because of their durability, glossy finish, and quick-drying nature. The best part? Once you master the basics, you’ll never have to wait in salon queues or worry about chipped polish again.
Why Choose Gel Nails?
Before diving into how to do your own gel nails at home, let’s talk about why gel nails are worth the effort:
- Long-Lasting Beauty: Gel nails can last up to three weeks without chipping or fading.
- Glossy Finish: They give your nails a mirror-like shine that stays fresh for days.
- Quick Drying: With a UV or LED lamp, gel polish cures in minutes, meaning no more smudges.
- Low Maintenance: Ideal for busy women who want beautiful nails without constant touch-ups.
What You’ll Need
Before you start your DIY manicure session, gather these essential tools:
- UV or LED Lamp – for curing the gel polish
- Gel Base Coat – ensures the polish adheres properly
- Gel Nail Polish – choose your preferred colour
- Gel Top Coat – seals the polish and adds shine
- Nail File and Buffer – shapes and smoothens your nails
- Cuticle Pusher – for a clean, professional nail bed
- Lint-Free Wipes – to clean dust and residue
- Nail Cleanser or Isopropyl Alcohol – for prepping and finishing
Step-by-Step Guide: How to Do Your Own Gel Nails at Home
1. Prep Your Nails
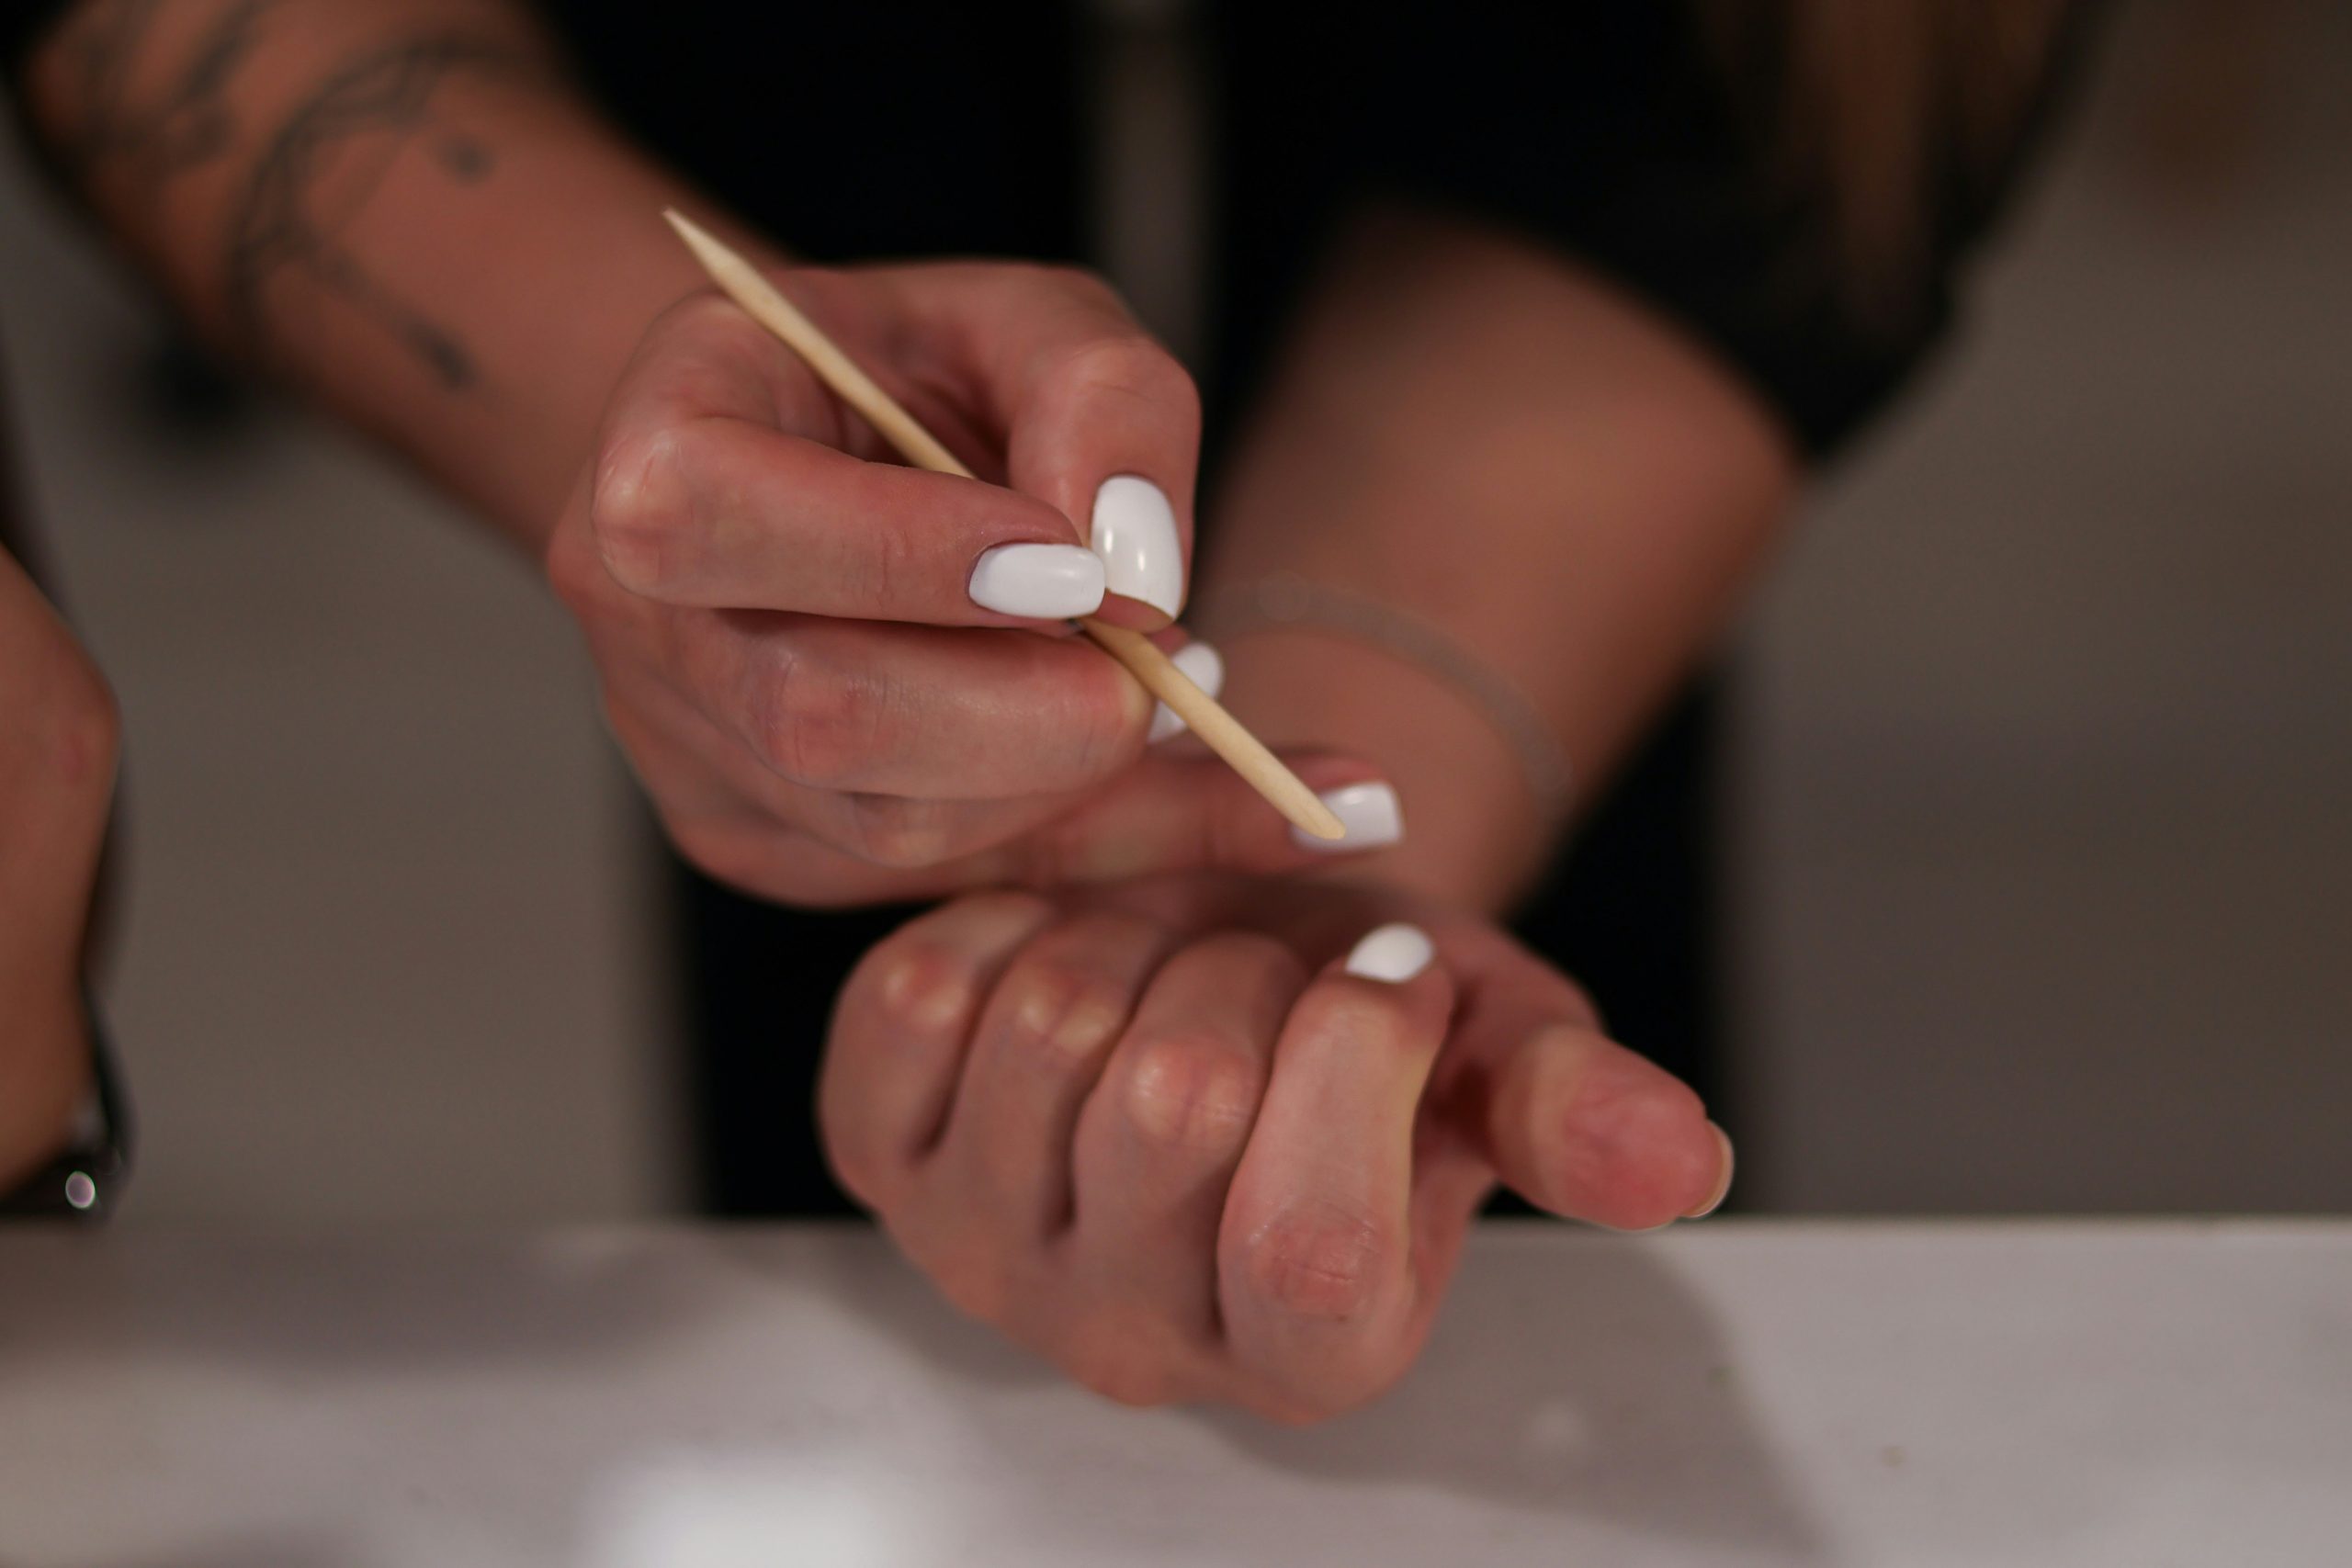
Start by filing your nails to your desired shape—square, oval, or almond. Use a buffer to gently remove shine from the nail surface. Push back your cuticles for a clean base. This helps your gel polish stick better and last longer.
2. Clean Your Nails
Use a lint-free wipe soaked in nail cleanser or isopropyl alcohol to clean your nails. This removes any oils and dust, ensuring a smooth application.
3. Apply the Base Coat
Apply a thin layer of gel base coat on each nail. Avoid thick coats to prevent bubbling. Seal the nail edges and cure under your UV or LED lamp for 30–60 seconds.
4. Apply the Gel Polish
Choose your favourite shade and apply a thin layer. Cure each coat before applying the next. Two to three coats usually give a rich, even colour.
5. Apply the Top Coat
Seal your polish with a gel top coat for extra shine and protection. Cap the edges and cure once more.
6. Cleanse for Shine
After curing, wipe each nail with a lint-free pad soaked in nail cleanser or isopropyl alcohol to remove the sticky layer. Your nails should now be glossy, smooth, and flawless.
Tips for Perfect Gel Nails at Home
- Apply Thin Layers: Thin coats dry faster and last longer.
- Cap the Edges: Helps prevent peeling and chipping.
- Avoid Skin Contact: Keeps the polish from lifting.
- Moisturize Cuticles: Apply cuticle oil daily to keep nails healthy and hydrated.
Common Mistakes to Avoid When Doing Gel Nails at Home
Even with the right tools, small errors can affect your results. Avoid these common mistakes:
- Applying thick coats of polish
- Skipping the nail prep or cleaning stage
- Using low-quality gel polish or lamps
- Forgetting to cap the edges
Remember, patience and precision make a big difference in your manicure’s outcome.
How to Remove Gel Nails Safely
Avoid peeling your gel polish—it can damage your natural nails. Instead, follow these steps:
- Soak cotton balls in acetone and place them on your nails.
- Wrap each nail with foil and let it sit for 10–15 minutes.
- Gently push off the softened gel using a cuticle pusher.
- Buff lightly and apply cuticle oil for moisture.
For a more detailed breakdown, check out Byrdie’s guide on how to remove gel polish from acrylic nails without damage — it’s an expert-approved resource that helps you protect your nails while maintaining beautiful results at home.
Conclusion
Doing your own gel nails at home is a fun, cost-effective, and confidence-boosting beauty hack. With consistent practice, you’ll perfect your technique and enjoy salon-worthy nails anytime you want. The best part? You’ll save money while looking fabulous every day.
Read Next: The Best Makeup Tips for Beginners — learn how to achieve a flawless look using simple, beginner-friendly techniques that complement your new gel nails.
If you found this helpful, share it with a friend who loves DIY beauty! Don’t forget to subscribe to JacyLaura’s Blog for more tips on lifestyle, business, and personal growth.


